This will initiate the wizard.
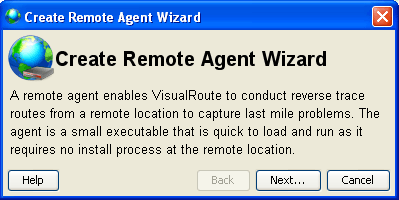
Click the next button to show the two types of agent you can create.
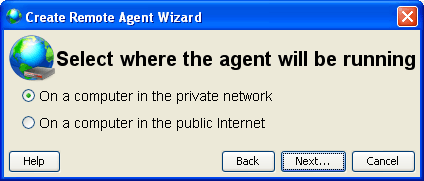
If the machine you are using the agent for is on the local network then choose the first radio button. If you want to distribute the remote agent to a machine not on the local network then use the second radio button (public internet).
Private Network
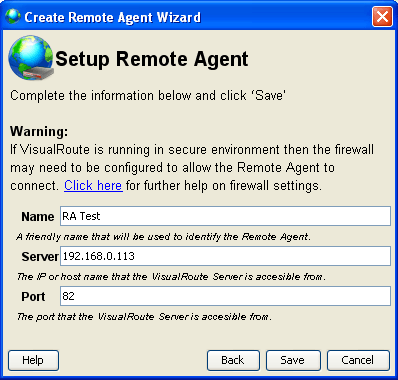
The server and port number should already be filled in, according to the server settings you chose earlier.
All that's left to do is give the remote agent a name then click the save button. This will ask you to save the .exe to your hard drive.
Public Internet
When chosing the public Internet option the remote agent you are creating has to be allowed access to the VisualRoute server from the public Internet (port forwarding). If an external IP address is available then VisualRoute will automatically enter it into the settings when the next button is clicked. If your network does not allow or support port forwarding then click here.
NOTE: See below for firewall help
Running the Remote Agent
Once you have set up your remote agent you can distribute it to the machine you created it for. The next step is to run the agent. All you have to do is double click the .exe you just saved to your hard drive (make sure it is running on the correct machine first).
When the remote agent is running it will look like the image below:
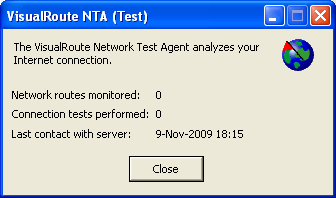
Once the agent is running it should appear in the test from drop down menu in the VisualRoute client, as shown below:
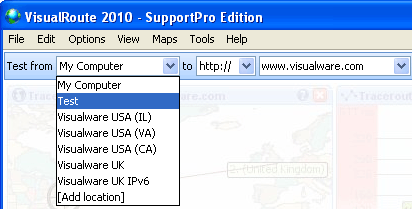
With the remote agent now selected you can perform a traceroute as you would normally. Only this time the results you are seeing is the route between the remote agent computer and the chosen destination.
Browser Side Remote Agent Creation
The first step is to browse to your VisualRoute server (should look like the image below) and click the button denoted by the number three, shown on the image below:
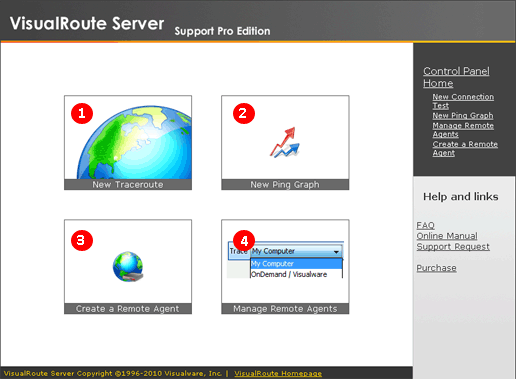
The process is exactly the same as the client method. You first have to choose if you want to run the agent on a private network or over the public Internet.
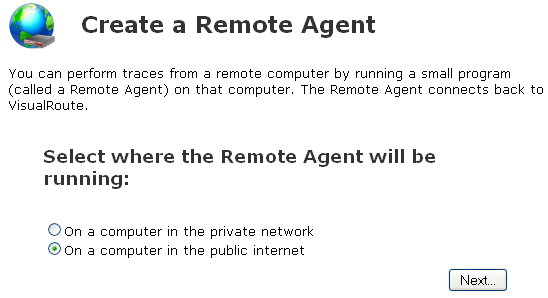
When chosing the public Internet option the remote agent you are creating has to be allowed access to the VisualRoute server from the public Internet (port forwarding). If an external IP address is available then VisualRoute will automatically enter it into the settings when the next button is clicked. If your network does not allow or support port forwarding then click here.
Managing your remote agents
If you click on option 4 shown in the image above you can manage the remote agents that are currently running.
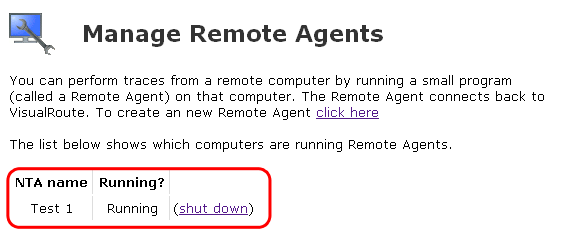
From this page you can manually shut down the agent at anytime. This ensures you have full control over how many agents are connected to your server at one time.
Configuring your firewall
For the remote agent to work correctly certain things will need to be allowed in your firewall settings.
The two files below should be set to allowed/accepted
Java.exe - (default c:\Windows\System 32\Java.exe)
The agent itself - (whatever the agent is called with the .exe suffix) |